
The Rime MCP server provides text-to-speech capabilities using Rime's API with the following features:
Converts text to speech and plays it through the system's native audio player
Supports customization of voice (speakers), speech speed, and latency optimization
Can be configured via environment variables for guidance, addressing, timing, and default voice settings
Offers cross-platform support for macOS, Windows, and Linux
Integrates with MCP workflows for contextual speech generation
Supports various Linux audio players (mpg123, mplayer, aplay, ffplay) for playing synthesized speech
Uses macOS native 'afplay' audio player to output synthesized speech
Supports context-based voice selection when discussing Python, using specific voices like 'antoine'
Provides text-to-speech capabilities using Rime's API, allowing AI agents to convert text to speech and play it through the system's audio output
Supports context-based voice selection when discussing TypeScript, using specific voices like 'cove'
Click on "Install Server".
Wait a few minutes for the server to deploy. Once ready, it will show a "Started" state.
In the chat, type
@followed by the MCP server name and your instructions, e.g., "@Rime MCPread my latest commit message out loud"
That's it! The server will respond to your query, and you can continue using it as needed.
Here is a step-by-step guide with screenshots.
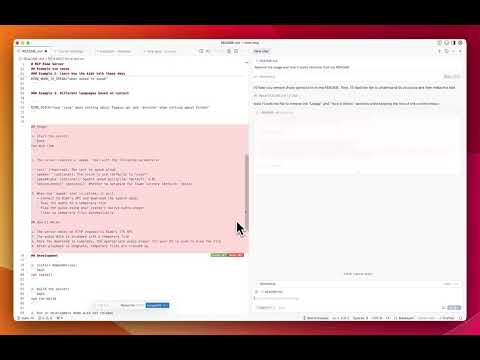
Rime MCP
![]()
A Model Context Protocol (MCP) server that provides text-to-speech capabilities using the Rime API. This server downloads audio and plays it using the system's native audio player.
Features
Exposes a
speaktool that converts text to speech and plays it through system audioUses Rime's high-quality voice synthesis API
Related MCP server: iTerm MCP
Requirements
Node.js 16.x or higher
A working audio output device
macOS: Uses
afplay
There's sample code from Claude for the following that is not tested 🤙✨
Windows: Built-in Media.SoundPlayer (PowerShell)
Linux: mpg123, mplayer, aplay, or ffplay
MCP Configuration
"ref": {
  "command": "npx",
  "args": ["rime-mcp"],
  "env": {
      RIME_API_KEY=your_api_key_here

      # Optional configuration
      RIME_GUIDANCE="<guide how the agent speaks>"
      RIME_WHO_TO_ADDRESS="<your name>"
      RIME_WHEN_TO_SPEAK="<tell the agent when to speak>"
      RIME_VOICE="cove"
  }
}
All of the optional env vars are part of the tool definition and are prompts to
All voice options are listed here.
You can get your API key from the Rime Dashboard.
The following environment variables can be used to customize the behavior:
RIME_GUIDANCE: The main description of when and how to use the speak toolRIME_WHO_TO_ADDRESS: Who the speech should address (default: "user")RIME_WHEN_TO_SPEAK: When the tool should be used (default: "when asked to speak or when finishing a command")RIME_VOICE: The default voice to use (default: "cove")
Example use cases
Example 1: Coding agent announcements
"RIME_WHEN_TO_SPEAK": "Always conclude your answers by speaking.",
"RIME_GUIDANCE": "Give a brief overview of the answer. If any files were edited, list them."
Example 2: Learn how the kids talk these days
RIME_GUIDANCE="Use phrases and slang common among Gen Alpha."
RIME_WHO_TO_ADDRESS="Matt"
RIME_WHEN_TO_SPEAK="when asked to speak"
Example 3: Different languages based on context
RIME_VOICE="use 'cove' when talking about Typescript and 'antoine' when talking about Python"Development
Install dependencies:
npm installBuild the server:
npm run buildRun in development mode with hot reload:
npm run devLicense
MIT
Badges
Installing via Smithery
To install Rime Text-to-Speech Server for Claude Desktop automatically via Smithery:
npx -y @smithery/cli install @MatthewDailey/rime-mcp --client claude
Resources
Unclaimed servers have limited discoverability.
Looking for Admin?
If you are the server author, to access and configure the admin panel.