
Figma MCP(模型上下文协议)
使用模型上下文协议通过 Cursor Agent 创建和修改 Figma 设计的完整解决方案。
博客: https ://xflux.us/2025/04/06/ai-powered-design-automation-building-a-figma-mcp-with-cursor/ 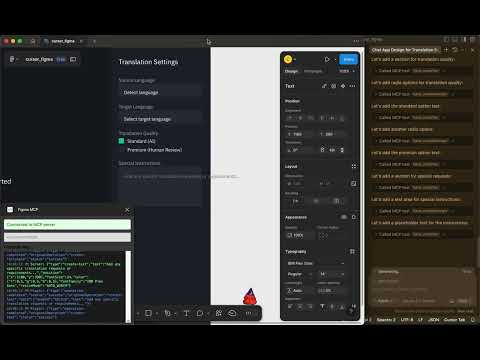
概述
该项目通过 Cursor Agent 使用自然语言提示,在 Figma 中实现 AI 驱动的设计创作。它由两个主要组件组成:
MCP 服务器:一个实现模型上下文协议并通过 WebSockets 与 Figma 插件通信的 Bun + TypeScript 服务器。
Figma 插件:在 Figma 中运行并根据 MCP 服务器的指令执行设计操作的插件。
通过这种集成,您可以使用自然语言来:
创建基本设计元素(形状、文本等)
设计包含多个部分的完整页面布局
修改现有设计
Related MCP server: Figma MCP Server
存储库结构
figma-mcp-server/ :MCP 服务器实现
figma-plugin/ :用于执行设计操作的 Figma 插件
快速入门
1. 设置 MCP 服务器
2.设置 Figma 插件
然后将插件导入 Figma:
打开 Figma
转到插件>开发>从清单导入插件
选择
figma-plugin/manifest.json文件
3. 连接到游标代理
在光标中:
转至设置 > 代理 > MCP 服务器
添加一个新服务器,URL 为:
http://localhost:3000/api/mcp/schema
详细文档
有关更详细的说明,请参阅:
示例用法
一切设置完成后,您可以使用 Cursor Agent 创建带有如下提示的设计:
工作原理
光标代理接收自然语言提示
它向 MCP 服务器发送结构化的 MCP 请求
MCP 服务器处理请求并通过 WebSocket 向 Figma 插件发送指令
Figma插件在Figma中执行设计操作
执照
麻省理工学院