
QGISMCP - QGIS モデルコンテキストプロトコル統合
QGISMCPは、モデルコンテキストプロトコル(MCP)を介してQGISをClaude AIに接続し、ClaudeがQGISを直接操作して制御できるようにします。この統合により、迅速なプロジェクト作成、レイヤーの読み込み、コード実行などの支援が可能になります。
このプロジェクトは、Siddharth AhujaによるBlenderMCPプロジェクトに基づいています。
特徴
双方向通信: ソケットベースのサーバーを介して Claude AI を QGIS に接続します。
プロジェクト操作: QGIS でプロジェクトを作成、読み込み、保存します。
レイヤー操作: プロジェクトにベクター レイヤーまたはラスター レイヤーを追加および削除します。
処理の実行: 処理アルゴリズムを実行します ( Processing Toolbox )。
コード実行:Claude氏によるQGISで任意のPythonコードを実行できます。非常に強力なツールですが、使用には細心の注意が必要です。
Related MCP server: SketchupMCP
コンポーネント
このシステムは、次の 2 つの主要コンポーネントで構成されています。
QGIS プラグイン: コマンドを受信して実行するために QGIS 内にソケット サーバーを作成する QGIS プラグイン。
MCP サーバー: モデル コンテキスト プロトコルを実装し、QGIS プラグインに接続する Python サーバー。
インストール
前提条件
QGIS 3.X (3.22 でのみテスト済み)
クラウドデスクトップ
Python 3.10以降
uv パッケージマネージャー:
Macをお使いの場合は、uvをインストールしてください。
Windows PowerShellの場合
それ以外の場合、インストール手順はウェブサイトに掲載されています: Install uv
⚠️UVをインストールする前に続行しないでください
コードをダウンロード
このリポジトリをコンピュータにダウンロードしてください。以下のコマンドでクローンできます。
QGISプラグイン
フォルダーqgis_mcp_pluginとその内容を QGIS プロファイル プラグイン フォルダーにコピーする必要があります。
QGIS でプロファイル フォルダーを取得するには、メニューのSettings -> User profiles -> Open active profile folderに移動します。次に、 Python/pluginsに移動して、フォルダーqgis_mcp_pluginを貼り付けます。
Windows マシンでは、プラグイン フォルダは通常、次の場所にあります:
C:\Users\USER\AppData\Roaming\QGIS\QGIS3\profiles\default\python\plugins、MacOS では次の場所にあります:~/Library/Application\ Support/QGIS/QGIS3/profiles/default/python/plugins
QGISを一度閉じて、もう一度開きます。メニューオプションPlugins 」→ Installing and Managing Pluginsに移動し、「 Allタブを選択して「QGIS MCP」を検索し、「QGIS MCP」のチェックボックスをオンにします。
デスクトップ統合のクロード
Claude > Settings > Developer > Edit Config > claude_desktop_config.jsonに移動して、以下を追加します。
「開発者タブ」または
claude_desktop_config.jsonが見つからない場合は、このドキュメントを参照してください。
使用法
接続の開始
QGISで、
plugins->QGIS MCP->QGIS MCPに移動します。
「サーバーを開始」をクリックします

クロードと一緒に使う
Claude で設定ファイルが設定され、サーバーが QGIS で実行されると、QGIS MCP のツールが表示されたハンマー アイコンが表示されます。
ツール
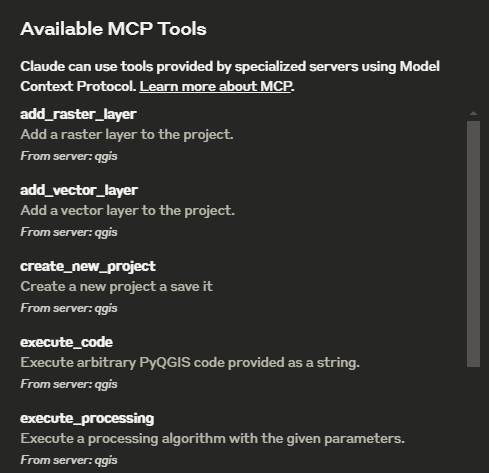
ping- サーバーの接続を確認するためのシンプルなpingコマンドget_qgis_info- 現在のインストールに関するQGIS情報を取得しますload_project- 指定されたパスからQGISプロジェクトをロードしますcreate_new_project- 新しいプロジェクトを作成して保存するget_project_info- 現在のプロジェクト情報を取得するadd_vector_layer- プロジェクトにベクターレイヤーを追加するadd_raster_layer- プロジェクトにラスターレイヤーを追加するget_layers- 現在のプロジェクト内のすべてのレイヤーを取得しますremove_layer- ID でプロジェクトからレイヤーを削除しますzoom_to_layer- 指定されたレイヤーの範囲にズームしますget_layer_features- オプションの制限付きでベクターレイヤーからフィーチャを取得しますexecute_processing- 指定されたパラメータで処理アルゴリズムを実行するsave_project- 現在のプロジェクトを指定されたパスに保存しますrender_map- 現在のマップビューを画像ファイルにレンダリングしますexecute_code- 文字列として提供された任意のPyQGISコードを実行する
コマンド例
これはデモに使用した例です: