
Enables AI-assisted 3D modeling workflows in Blender, including scene management, object creation and modification, material and texture application, animation support for humanoid meshes via Mixamo files, and integration with CSM.ai for 3D asset retrieval and placement.
Provides a Python client interface for programmatic connection to the Blender MCP server, enabling custom automation scripts and application integrations.
Click on "Install Server".
Wait a few minutes for the server to deploy. Once ready, it will show a "Started" state.
In the chat, type
@followed by the MCP server name and your instructions, e.g., "@Blender MCPsearch CSM for a sci-fi robot and add it to the scene"
That's it! The server will respond to your query, and you can continue using it as needed.
Here is a step-by-step guide with screenshots.
BlenderMCP x CSM.ai x LLM Agents (e.g. Cursor / Claude)
Connect Blender, CSM.ai and LLMs via the Model Context Protocol (MCP). This integration enables text and image based editing capabilities in Blender.
https://github.com/user-attachments/assets/496c2c69-4779-4569-9be0-80b767702c4c
Overview
BlenderMCP creates a bridge between Blender, CSM.ai and language models, allowing for powerful AI-assisted 3D modeling workflows.
MCP Feature List ✨
🔍 Ability to quickly search from public or private CSM.ai sessions. This allows interactive MCP based development. E.g. "Use CSM to get me a ghibli robot". Make sure you have some pre-generated robots on 3d.csm.ai or it will use some public session.
🏃 For any humanoid like mesh in the scene, ability to animate given a Mixamo file for maximum controllability. Here's an example (first name the mesh to animate, then the system will ask you for a local file path from Mixamo and instructions): MCP Animation Workflow
Installation
Clone the repository:
git clone https://github.com/CommonSenseMachines/blender-mcp.gitNavigate to the project directory:
cd blender-mcpInstall the package:
pip install -e .
Troubleshooting
Upgrade pip, e.g.
python3 -m pip install --upgrade pipUse
python3.10 -m pip install -e .if you don't normally use python
Cursor Configuration
Open Cursor in the root directory of the cloned blender-mcp repo.
Navigate to:
Cursor → Settings → Cursor Settings → MCP → Add a new serverAdd the following MCP configuration (see .mcp.json file):
Troubleshooting
Use Cursor from the blender-mcp directory
Use
python3.10in mcp.json (or whatever your normal Blender Python version is)
Blender Configuration
Launch Blender
Navigate to
Edit → Preferences
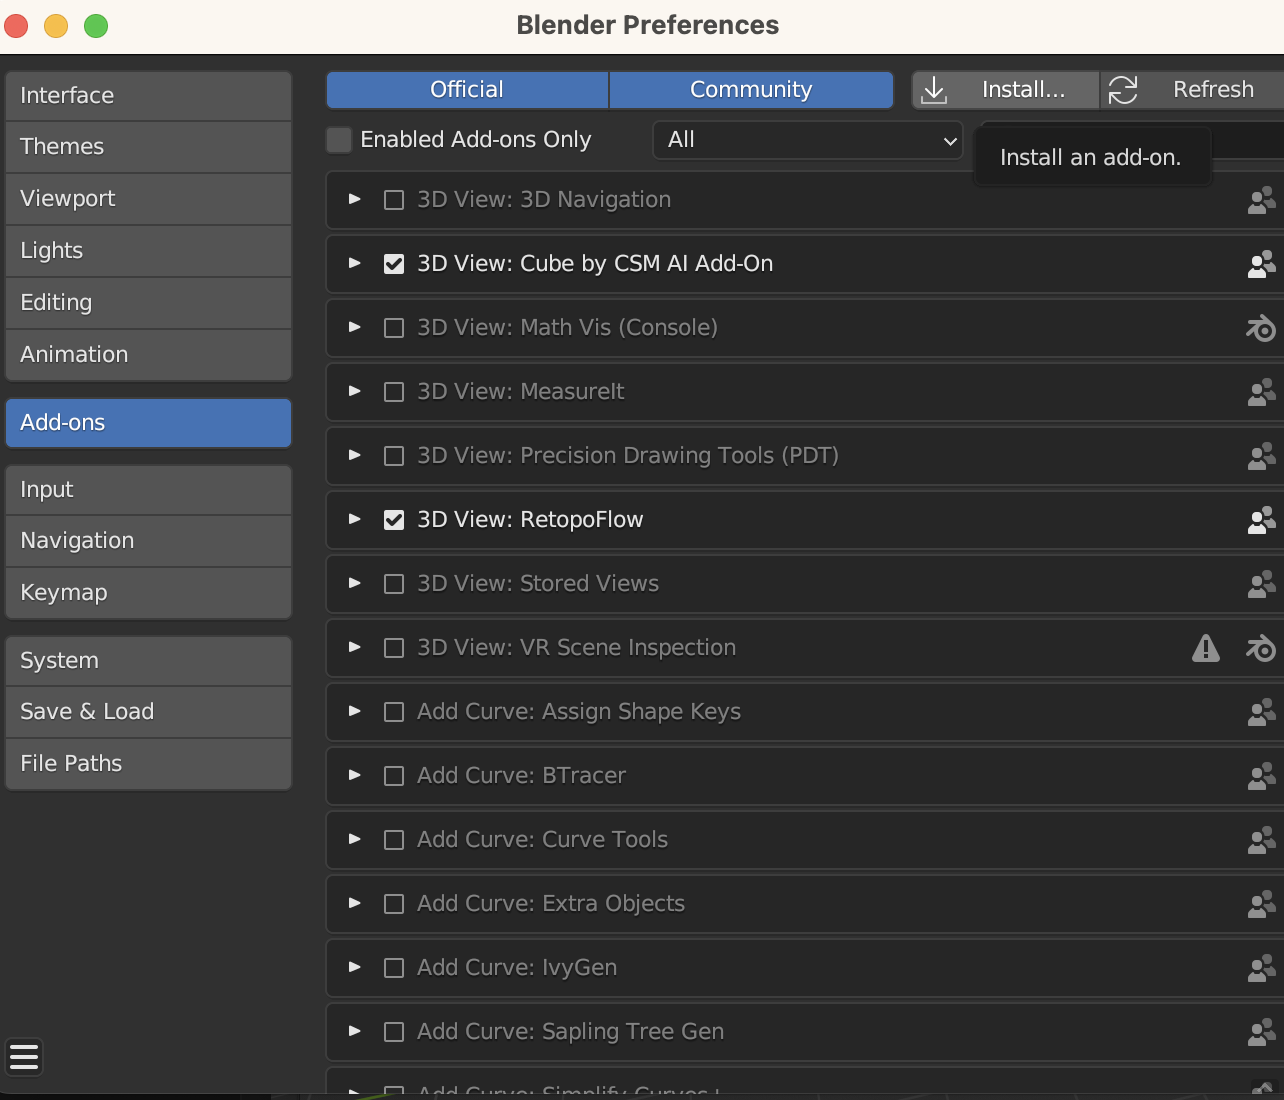
Install the
addon.pyfile from this repository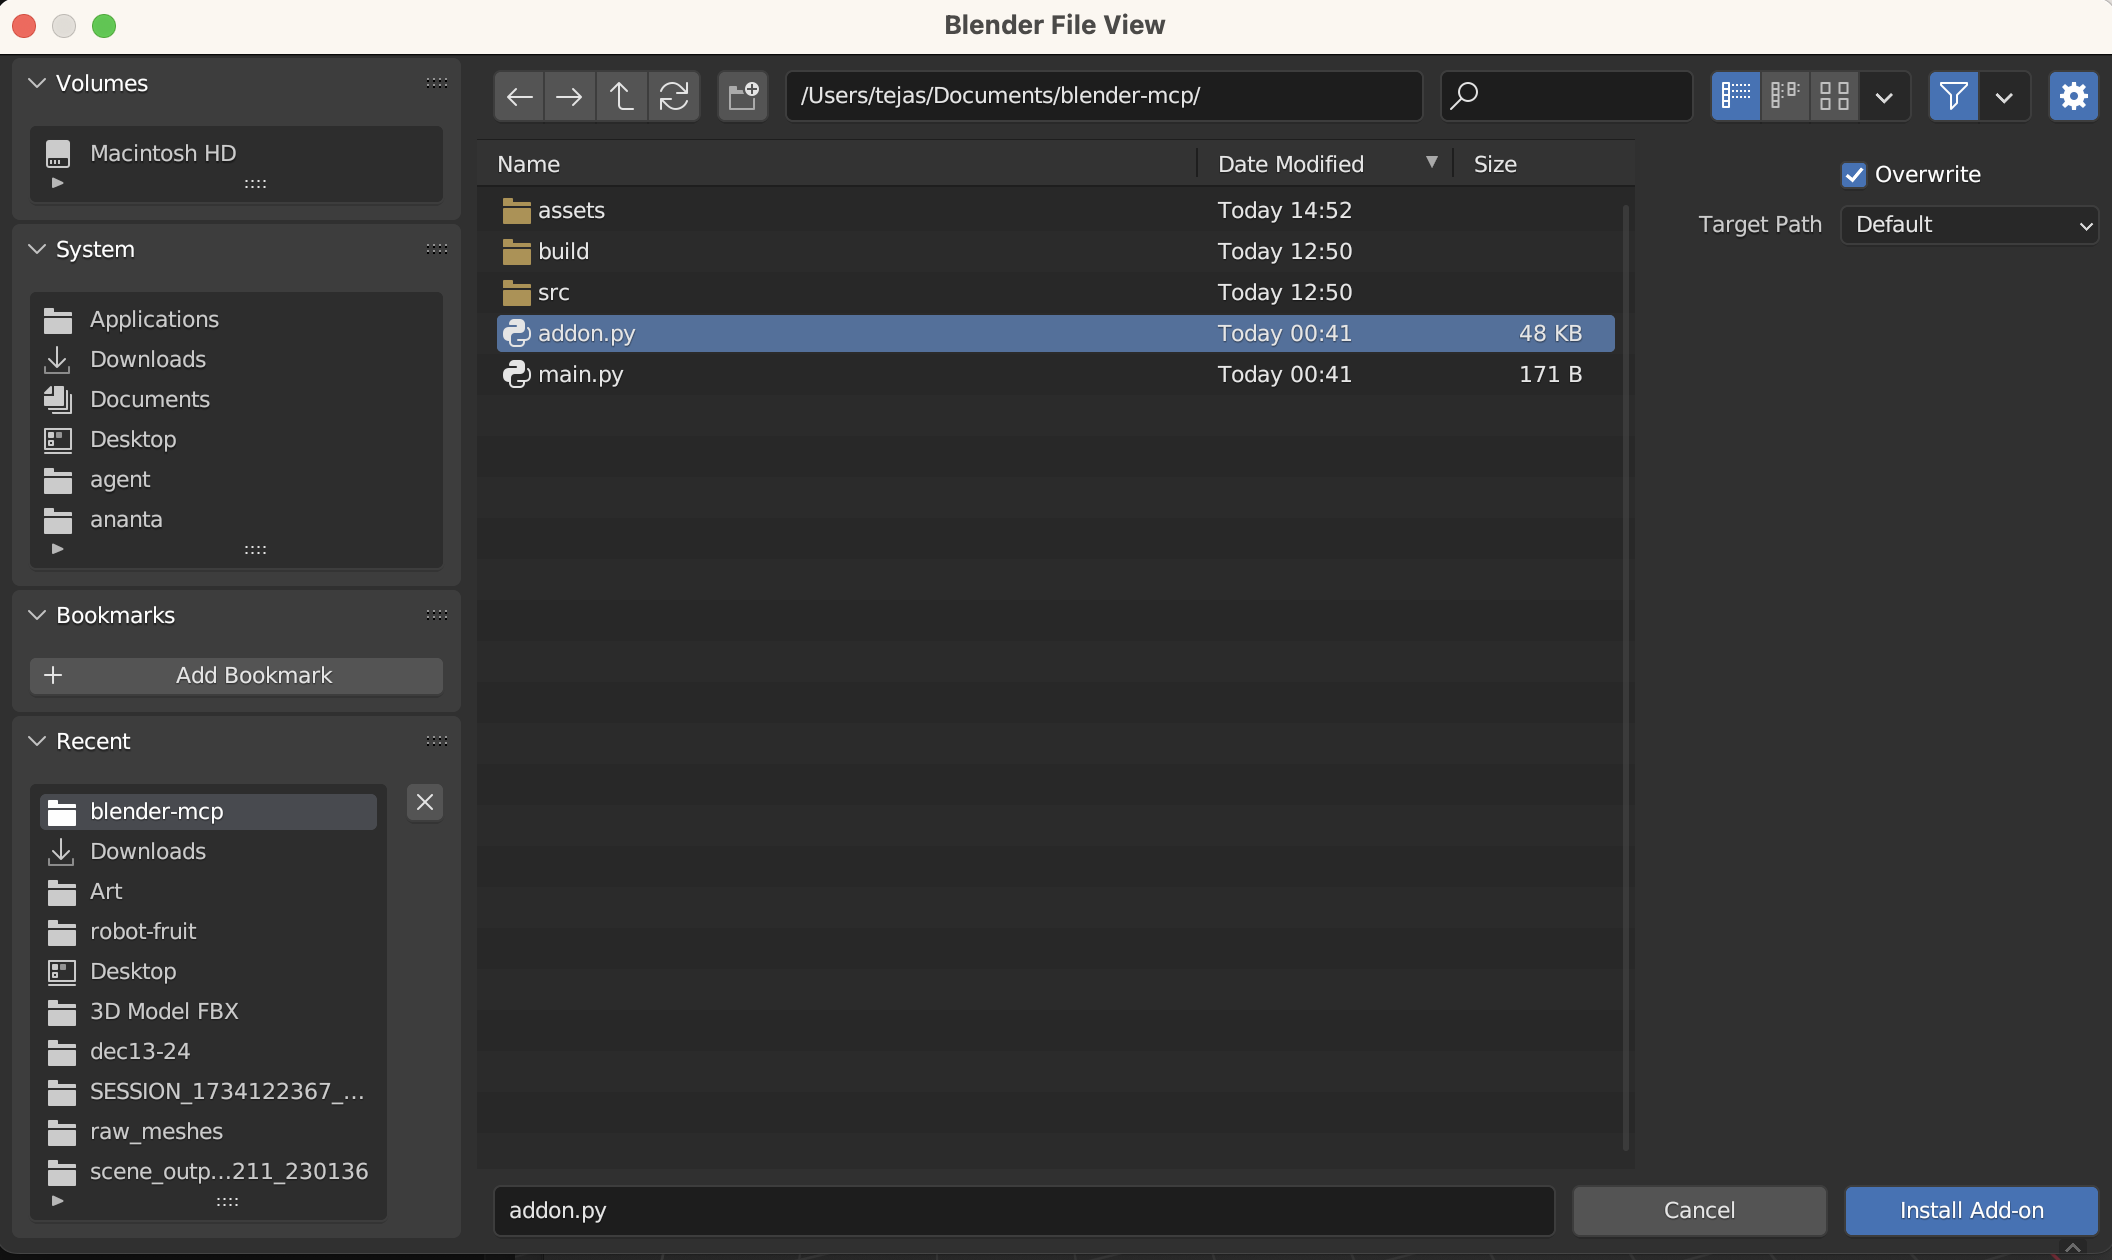
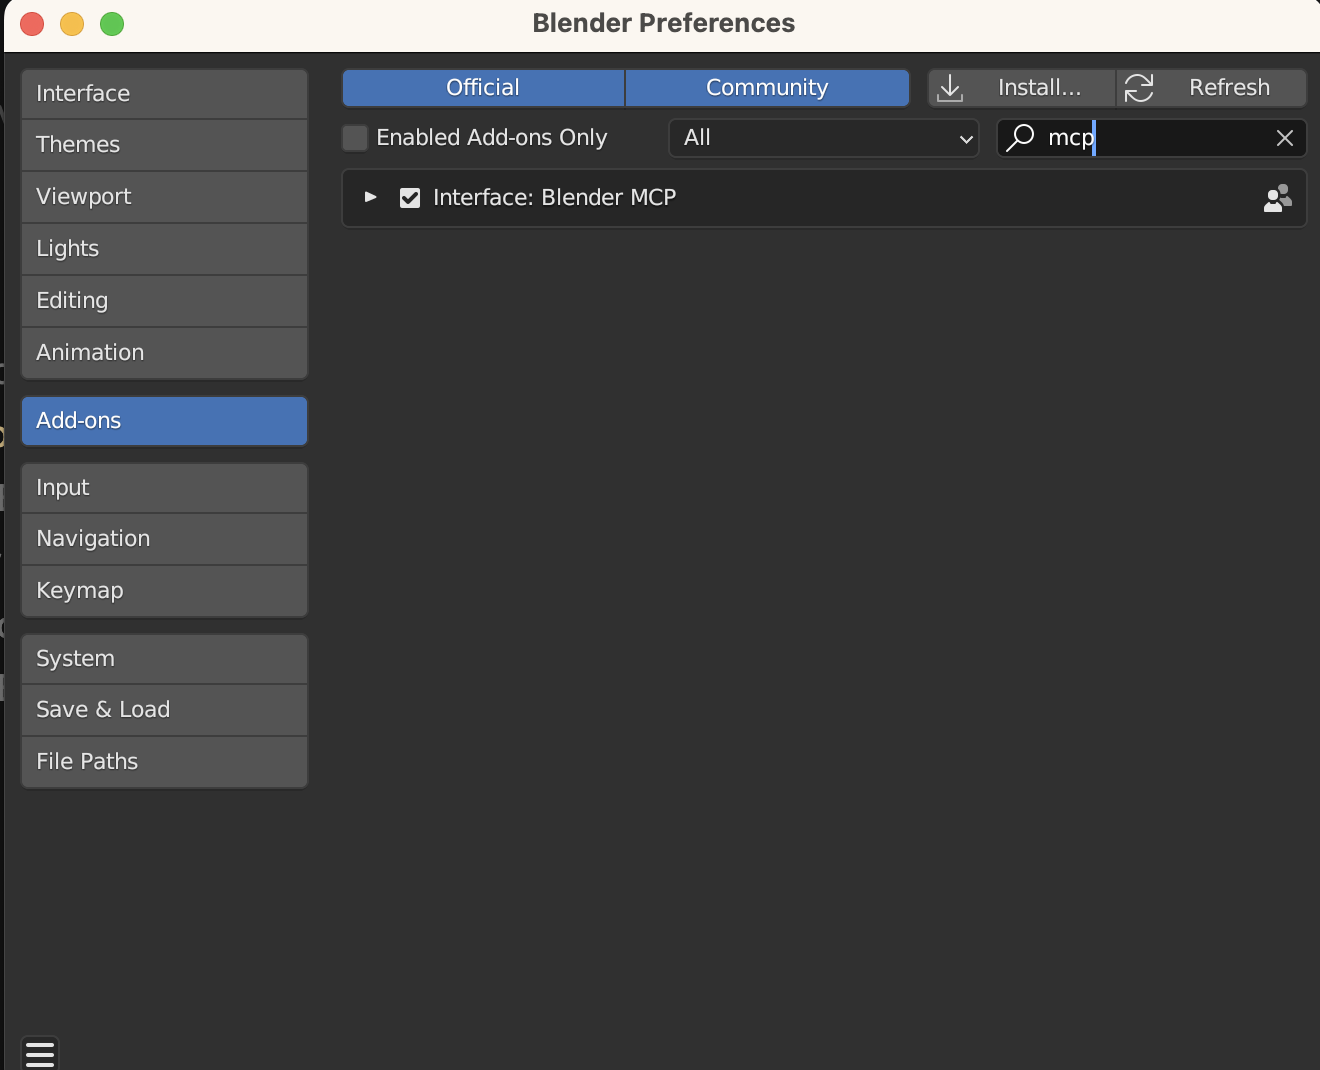
Verify that the Blender MCP addon appears in your addon list
Start the MCP server and enable the 'Use CSM.ai 3D models' option

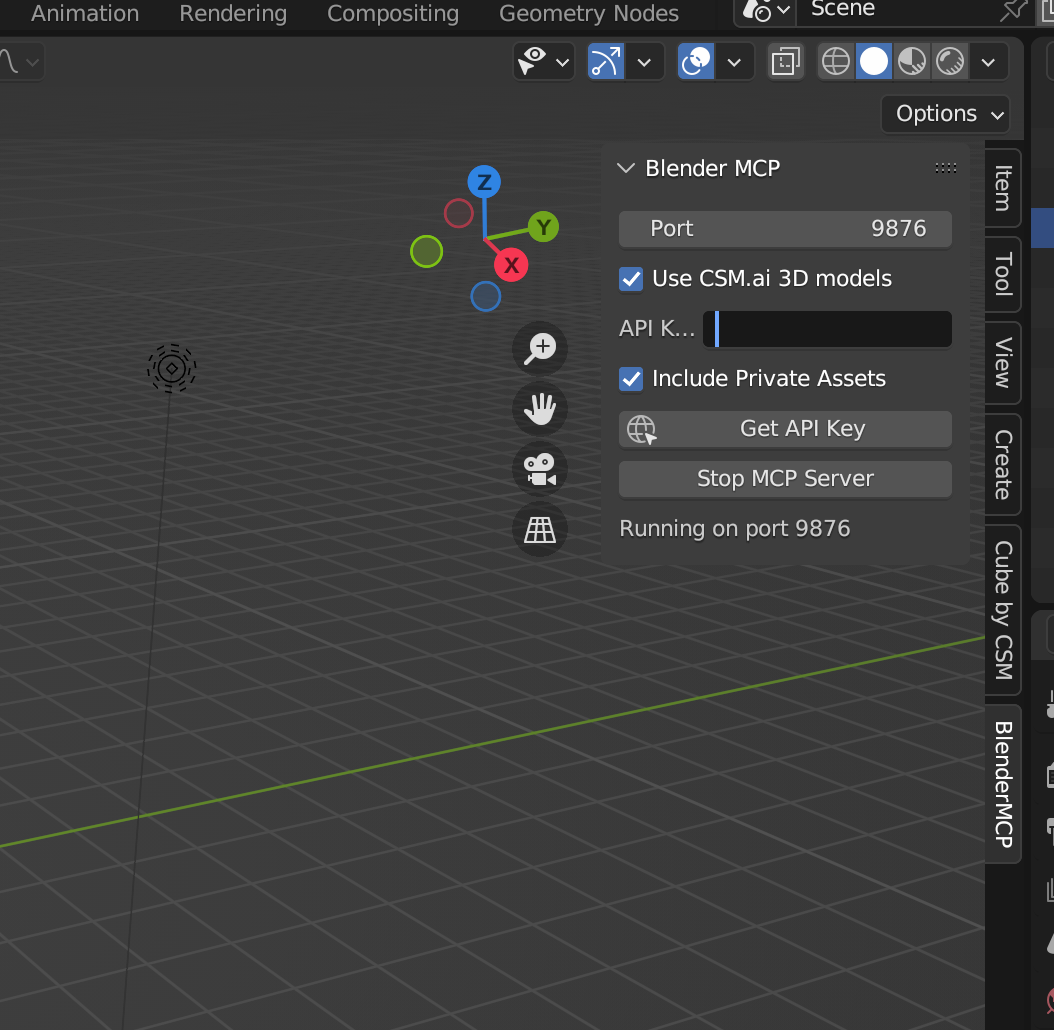
Enter your CSM API key to begin using the integration with Cursor
Troubleshooting
In Ubuntu, you may have to
sudo apt install blender.
CSM.ai Integration
For optimal performance, the MCP server utilizes vector search-based 3D model retrieval. To enhance your experience:
Visit 3d.csm.ai to create relevant modeling sessions
These sessions will provide targeted 3D assets for your specific projects
Alternatively, the system can access a large collection of general 3D models
This workflow creates a powerful ecosystem where:
CSM.ai functions as your asset generator and manager
Cursor serves as your AI coding assistant
Blender operates as your execution environment
Quickstart / Try It Out
Once you have entered your CSM API key in the Blender addon settings and confirmed the MCP server is running (check Cursor Settings → MCP), you're ready to test the integration!
Simply open a new chat window in Cursor (with any project open) and paste the following prompt:
This will trigger actions in Blender based on your instructions. The result from using the above prompt should look like this:
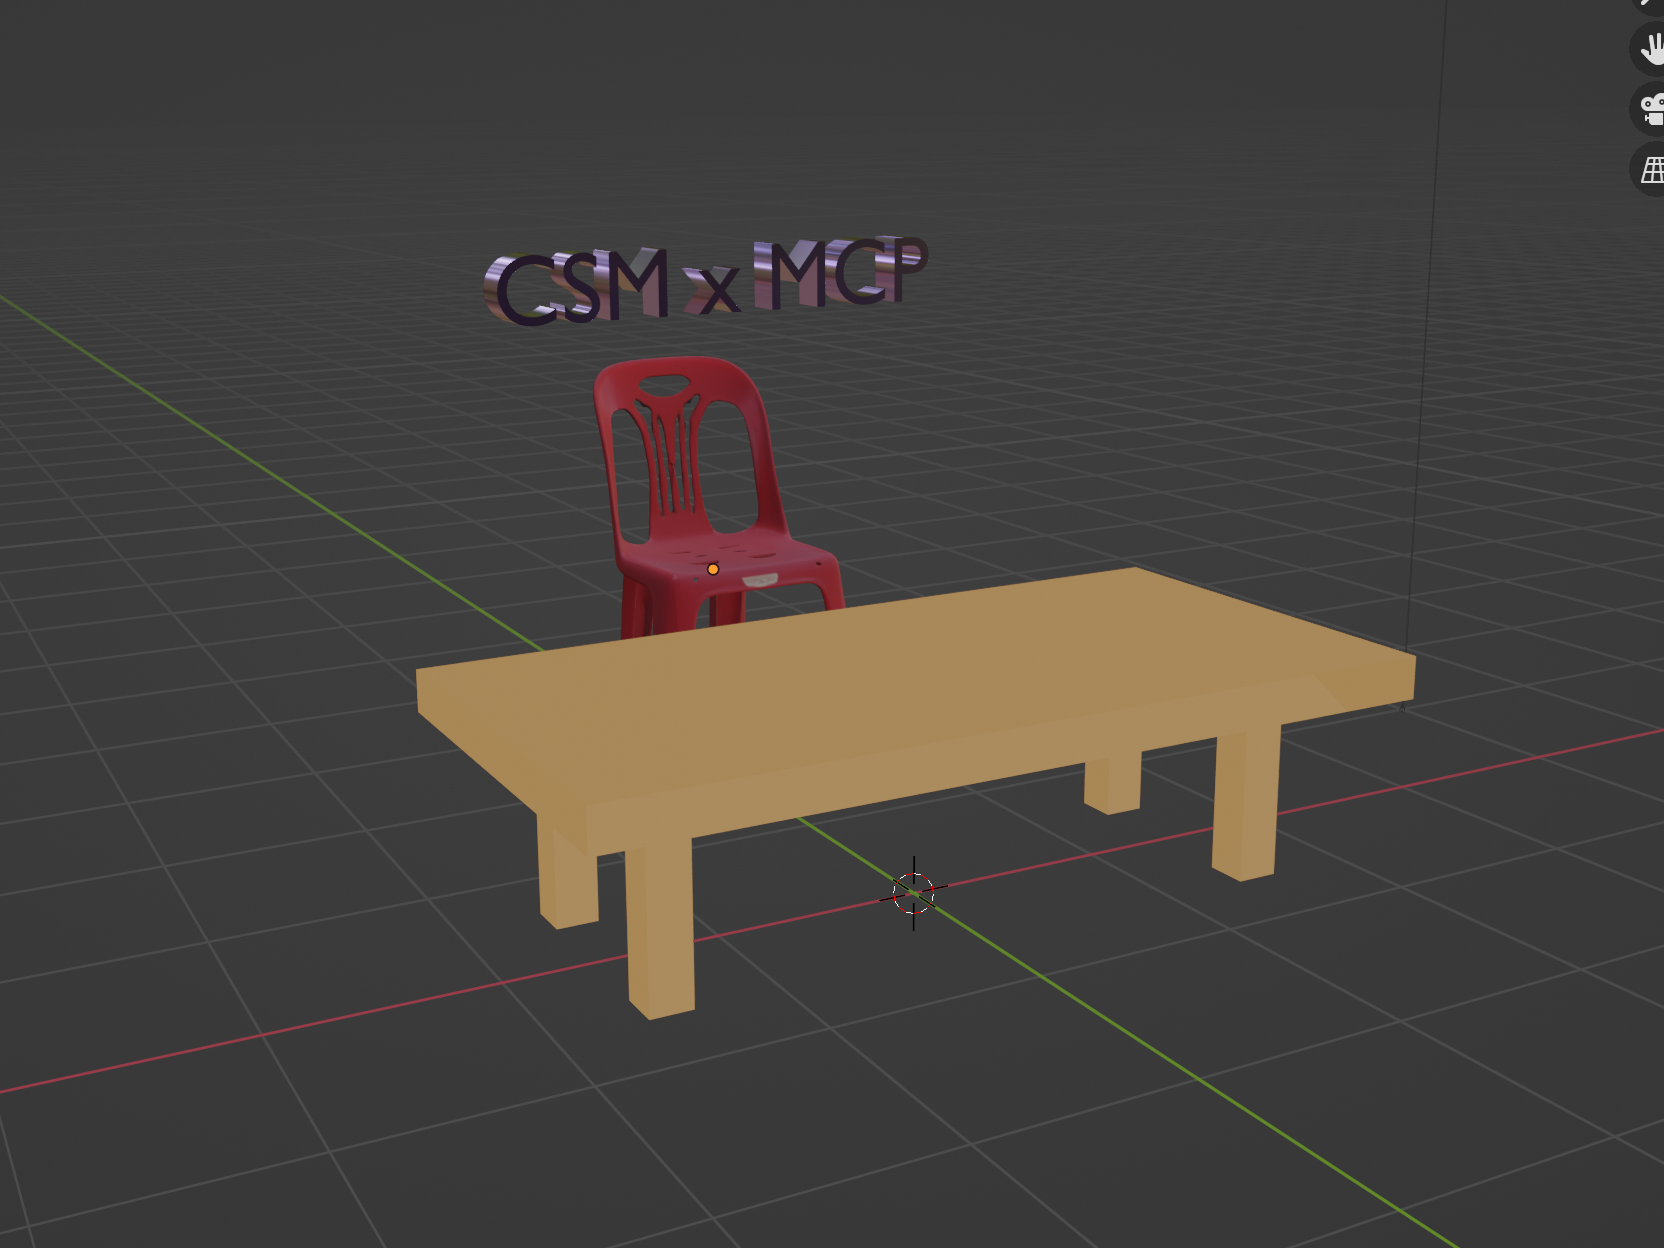
Instead of Cursor you can also use other MCP clients like the Claude Desktop App. See instructions in: Blender MCP. You will use the same mcp.json file as above but just enter it in the claude desktop UI.
Python Test Client
The repository includes a standalone Python client (chat_client.py) that demonstrates how to connect to the Blender MCP server programmatically. This is useful for:
Testing the Blender MCP connection without using Cursor or Claude Desktop
Understanding the MCP protocol and API
Developing your own custom MCP clients
Debugging MCP server responses
Running the Python Client
Start Blender and enable the MCP addon as described in the "Blender Configuration" section.
Open a terminal in the repository root and run:
python chat_client.py
Client Features
The Python client connects to Blender via the Model Context Protocol and demonstrates several capabilities:
Lists all available MCP tools organized by category (query, creation, modification, etc.)
Retrieves and displays scene information from Blender
Creates a simple cube in the scene
Gets detailed information about the created object
Checks CSM.ai integration status
Extending the Client
The client demonstrates how to work with the MCP format and handle various response types. You can use it as a starting point to:
Create scripts that automate Blender tasks
Build custom UIs on top of Blender's MCP capabilities
Integrate Blender with your own applications
The code includes helper functions for extracting text from MCP responses and parsing JSON content, making it easy to work with the returned data.