
Bubble MCP
by dorianglz
README.md
# Bubble MCP
A Model Context Protocol (MCP) server that enables AI assistants and other MCP-compatible clients to interact with Bubble.io applications. This server provides a standardized interface for reading and manipulating data in any Bubble application.
## 🚀 Features
- **Universal Bubble Support**: Works with any Bubble.io application
- **Auto-discovery**: Automatically discovers your app's data types and structure
- **CRUD Operations**: Create, Read, Update, and Delete operations for all data types
- **Workflow Execution**: Execute API workflows defined in your Bubble app
- **Privacy Settings Aware**: Respects Bubble's privacy rules and constraints
- **Read-only/Read-write Modes**: Configurable access levels for safety
- **Type-safe**: Provides detailed type information for all operations
## 🔌 MCP Compatibility
This server implements the Model Context Protocol (MCP), an open protocol that enables secure, standardized communication between AI assistants and external systems. While MCP was developed by Anthropic, it's designed to be vendor-agnostic.
### Currently Compatible Clients:
- **Claude Desktop** - Full support
- Other MCP clients - Should work with any client that implements the MCP specification
### Future Compatibility:
As MCP is an open protocol, we expect more AI assistants and tools to add support over time. This server will work with any client that properly implements the MCP standard.
## 📋 Prerequisites
- Node.js (v16 or higher)
- npm or yarn
- A Bubble.io application with API access enabled
- An MCP-compatible client (e.g., Claude Desktop)
## 🛠️ Installation
### Local Development Setup
#### For Mac/Linux:
1. Clone the repository:
```bash
git clone https://github.com/nocoderoi/bubble_mcp.git
cd bubble_mcp
```
2. Install dependencies:
```bash
npm install
```
3. Copy the example environment file:
```bash
cp .env.example .env
```
4. Edit `.env` with your Bubble app details:
```bash
nano .env # or use your preferred text editor
```
5. Build the project:
```bash
npm run build
```
#### For Windows:
1. Clone the repository:
```cmd
git clone https://github.com/nocoderoi/bubble_mcp.git
cd bubble_mcp
```
2. Install dependencies:
```cmd
npm install
```
3. Copy the example environment file:
```cmd
copy .env.example .env
```
4. Edit `.env` with your Bubble app details:
```cmd
notepad .env
```
Or use any text editor to add:
```env
BUBBLE_BASE_URL=https://your-app.bubbleapps.io
BUBBLE_API_TOKEN=your-bubble-api-token-here
MCP_MODE=read-write # Options: read-only, read-write
```
5. Build the project:
```cmd
npm run build
```
## 🔧 Configuration
### Getting Your Bubble API Token
1. Go to your Bubble app editor
2. Navigate to Settings → API
3. Enable "This app exposes a Data API"
4. Generate an API token
5. Copy the token to your `.env` file
### Setting Up Your MCP Client
The exact configuration steps depend on your MCP client. Below are examples for Claude Desktop:
#### Claude Desktop Configuration
##### For Mac/Linux:
1. Copy the example configuration:
```bash
cp claude-desktop-config.example.json claude-desktop-config.json
```
2. Edit `claude-desktop-config.json` with your absolute path:
```bash
pwd # Get your current directory path
nano claude-desktop-config.json
```
3. Update the configuration (example for Mac/Linux):
```json
{
"mcpServers": {
"bubble": {
"command": "node",
"args": [
"/Users/yourname/projects/bubble_mcp/dist/mcp-server.js"
],
"env": {
"BUBBLE_BASE_URL": "https://your-app.bubbleapps.io",
"BUBBLE_API_TOKEN": "your-bubble-api-token-here",
"MCP_MODE": "read-write"
}
}
}
}
```
4. Copy to Claude Desktop config location:
```bash
cp claude-desktop-config.json ~/Library/Application\ Support/Claude/claude_desktop_config.json
```
##### For Windows:
1. Copy the example configuration:
```cmd
copy claude-desktop-config.example.json claude-desktop-config.json
```
2. Get your current directory path:
```cmd
cd
```
3. Edit `claude-desktop-config.json` with the full Windows path:
```json
{
"mcpServers": {
"bubble": {
"command": "node",
"args": [
"C:\\Users\\yourname\\projects\\bubble_mcp\\dist\\mcp-server.js"
],
"env": {
"BUBBLE_BASE_URL": "https://your-app.bubbleapps.io",
"BUBBLE_API_TOKEN": "your-bubble-api-token-here",
"MCP_MODE": "read-write"
}
}
}
}
```
**Note**: Use double backslashes (`\\`) in the path!
4. Copy to Claude Desktop config location:
```cmd
copy claude-desktop-config.json %APPDATA%\Claude\claude_desktop_config.json
```
5. Restart Claude Desktop
#### Other MCP Clients
For other MCP-compatible clients, refer to their documentation for configuration instructions. The key configuration elements you'll need are:
- **Command**: `node`
- **Arguments**: Path to `dist/mcp-server.js`
- **Environment variables**: `BUBBLE_BASE_URL`, `BUBBLE_API_TOKEN`, and `MCP_MODE`
## 🎯 Usage
Once configured, you can interact with your Bubble app through your MCP client:
### Available Commands
- **List Data Types**: "Show me all data types in my Bubble app"
- **Fetch Records**: "Get all users from my database"
- **Create Records**: "Create a new user with name 'John Doe'"
- **Update Records**: "Update user with ID xxx to set email to 'new@email.com'"
- **Delete Records**: "Delete the product with ID xxx"
- **Execute Workflows**: "Run the 'send_welcome_email' workflow for user xxx"
## 🎥 Video Example
Watch a video demonstration of how to use the Bubble MCP integration with Claude Desktop:
[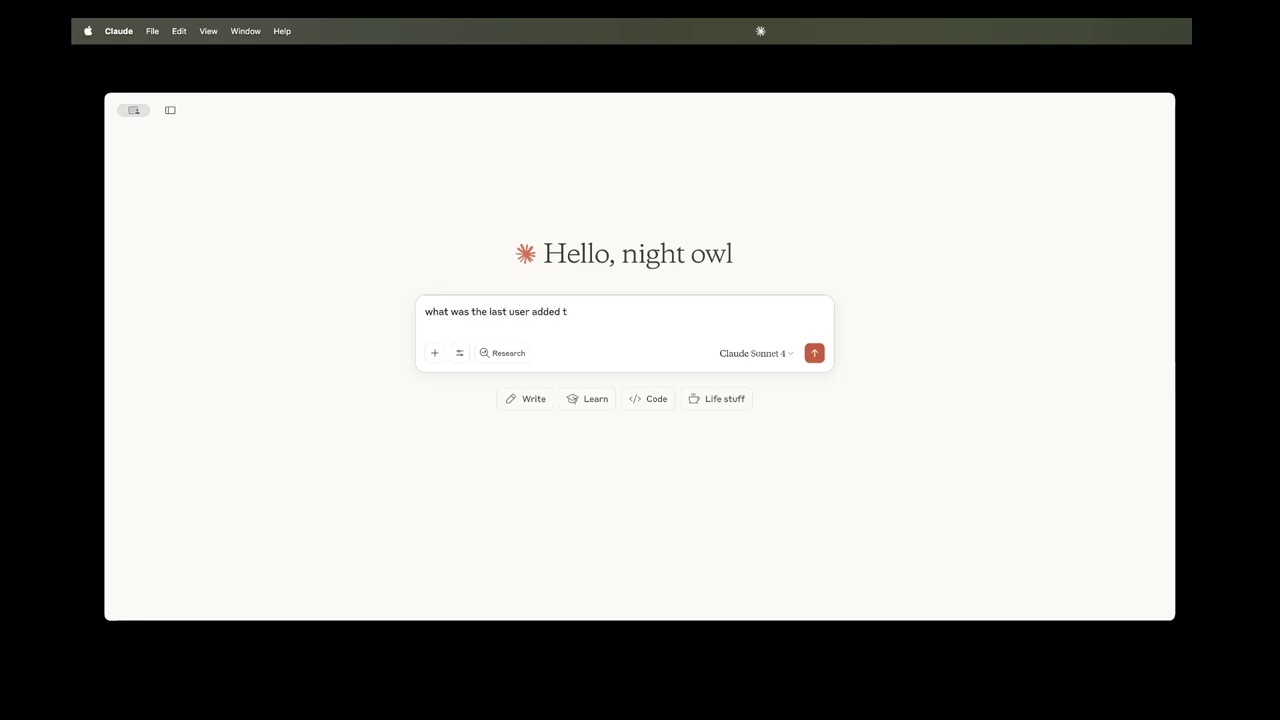](https://youtu.be/Zplpp1WeZpE)
### Example Interactions
```
You: "List all the data types in my Bubble app"
Assistant: I'll help you discover the data types in your Bubble app...
You: "Show me the first 5 customers"
Assistant: I'll fetch the first 5 customers from your database...
You: "Create a new product called 'Widget' with price 29.99"
Assistant: I'll create a new product for you...
```
## 🔒 Security Considerations
### Understanding MCP Modes
The Bubble MCP server supports two operational modes that control what actions the MCP client can perform:
#### 🔍 Read-Only Mode (Recommended)
- **What it does**: Only allows viewing and fetching data from your Bubble app
- **Available operations**:
- List data types
- Fetch records
- View app structure
- **Blocked operations**: Create, Update, Delete, and Workflow execution
- **When to use**:
- When exploring your data
- For reporting and analysis
- When learning about your app structure
- **As your default setting for safety**
#### ✏️ Read-Write Mode
- **What it does**: Allows full CRUD operations and workflow execution
- **Available operations**: All read operations PLUS:
- Create new records
- Update existing records
- Delete records
- Execute API workflows
- **When to use**:
- Only when you specifically need to modify data
- For automation tasks
- During active development
### 🛡️ Best Practices for Safety
1. **Start with Read-Only**: Always begin with `MCP_MODE=read-only` in your configuration
```json
"env": {
"MCP_MODE": "read-only" // Safe default
}
```
2. **Temporary Write Access**: Only switch to `read-write` when you need to perform modifications
```json
"env": {
"MCP_MODE": "read-write" // Use with caution
}
```
3. **Separate Configurations**: Consider having two MCP server configurations:
- `bubble-readonly`: Your default for everyday use
- `bubble-write`: Only for when modifications are needed
4. **API Token Permissions**:
- Create separate API tokens with different permission levels
- Use restricted tokens for read-only access
- Keep write-enabled tokens extra secure
### ⚠️ Mode Differences at a Glance
| Feature | Read-Only | Read-Write |
|---------|-----------|------------|
| List data types | ✅ | ✅ |
| Fetch records | ✅ | ✅ |
| Create records | ❌ | ✅ |
| Update records | ❌ | ✅ |
| Delete records | ❌ | ✅ |
| Execute workflows | ❌ | ✅ |
| Risk of data loss | None | Possible |
| Recommended for beginners | ✅ | ❌ |
### 🔐 Additional Security Tips
- **API Tokens**: Never commit your API tokens to version control
- **Environment Variables**: Always use environment variables or secure configuration for sensitive data
- **Privacy Rules**: The server respects Bubble's privacy rules - ensure your API token has appropriate permissions
- **Audit Trail**: In read-write mode, keep track of changes made through the MCP server
- **Backup**: Always backup your Bubble data before using read-write mode for bulk operations
## 🤝 Contributing
We welcome contributions from the community! Here's how you can help:
1. Fork the repository
2. Create a feature branch (`git checkout -b feature/amazing-feature`)
3. Commit your changes (`git commit -m 'Add amazing feature'`)
4. Push to the branch (`git push origin feature/amazing-feature`)
5. Open a Pull Request
### Development Guidelines
- Write clear, commented code
- Add tests for new features
- Update documentation as needed
- Follow the existing code style
- Test with different Bubble app configurations
## 🐛 Troubleshooting
### Common Issues
1. **"Cannot find data type"**: Ensure your Bubble app has the Data API enabled
2. **"Authentication failed"**: Check your API token is correct and has appropriate permissions
3. **"Privacy rule violation"**: Your API token may not have access to certain data types
4. **MCP client not connecting**: Ensure the path in config is absolute and the server is built
### Starting the Server
To start the MCP server, use one of the following commands depending on your environment:
**For Direct Node Execution:**
```bash
node dist/mcp-server.js
```
**For Development Mode (with hot-reloading):**
```bash
npm run mcp
```
### Debug Mode
Set `DEBUG=true` in your environment to enable verbose logging:
**Mac/Linux:**
```bash
DEBUG=true npm run mcp
```
**Windows (Command Prompt):**
```cmd
set DEBUG=true && npm run mcp
```
**Windows (PowerShell):**
```powershell
$env:DEBUG="true"; npm run mcp
```
## 📝 License
This project is licensed under the MIT License - see the [LICENSE](LICENSE) file for details.
---
Made with ❤️ by the community
This server cannot be deployed