
Provides seamless integration with Clockify time tracking API, enabling management of time entries, projects, tasks, workspaces, and user profiles through tools for creating, updating, deleting, and listing time tracking data.
Click on "Install Server".
Wait a few minutes for the server to deploy. Once ready, it will show a "Started" state.
In the chat, type
@followed by the MCP server name and your instructions, e.g., "@Clockify MCP Servershow me my time entries for this week"
That's it! The server will respond to your query, and you can continue using it as needed.
Here is a step-by-step guide with screenshots.
Clockify MCP Server
A Model Context Protocol (MCP) server that provides seamless integration with Clockify time tracking API. This server enables AI assistants to interact with Clockify to manage time entries, projects, tasks, and workspaces.
Features
🕐 Time Entry Management: Create, update, delete, and list time entries
📁 Project Management: Browse and search projects across workspaces
✅ Task Management: Access and manage tasks within projects
👤 User Profile: Retrieve user information and workspace details
🏢 Workspace Management: List and navigate between workspaces
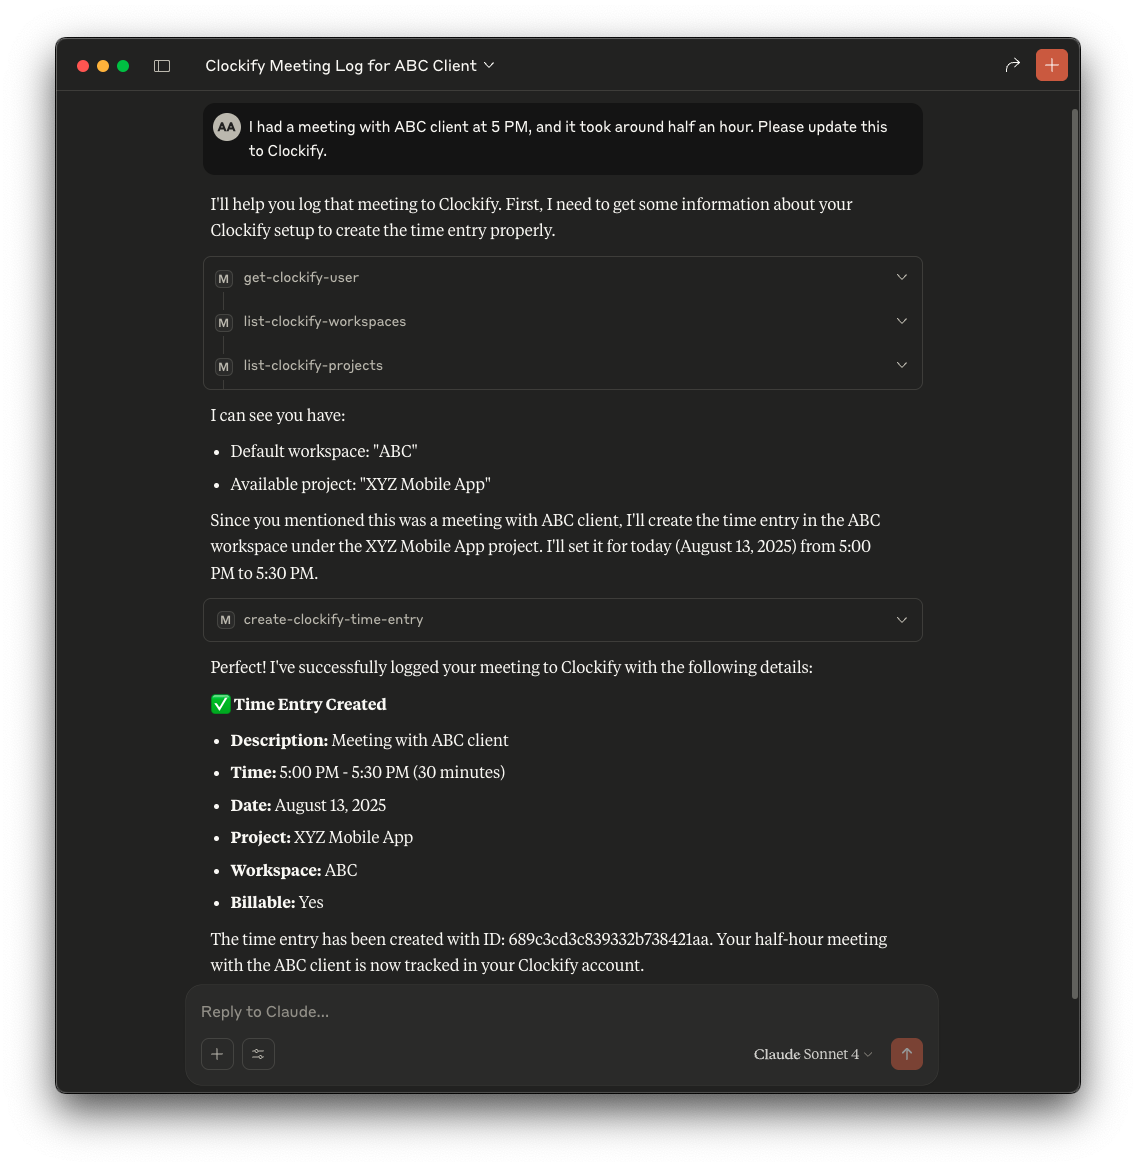
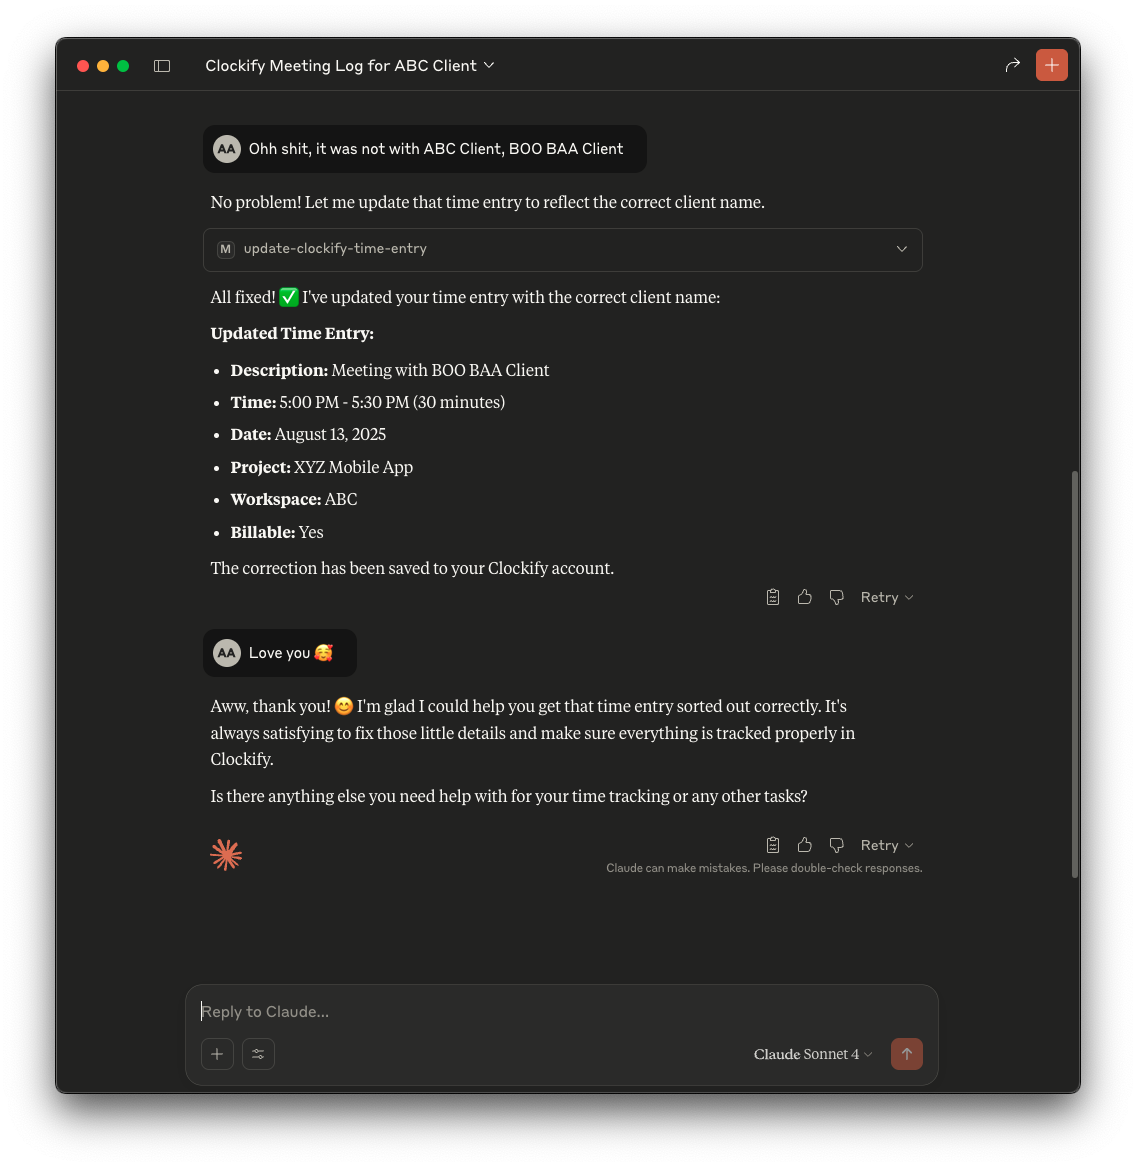
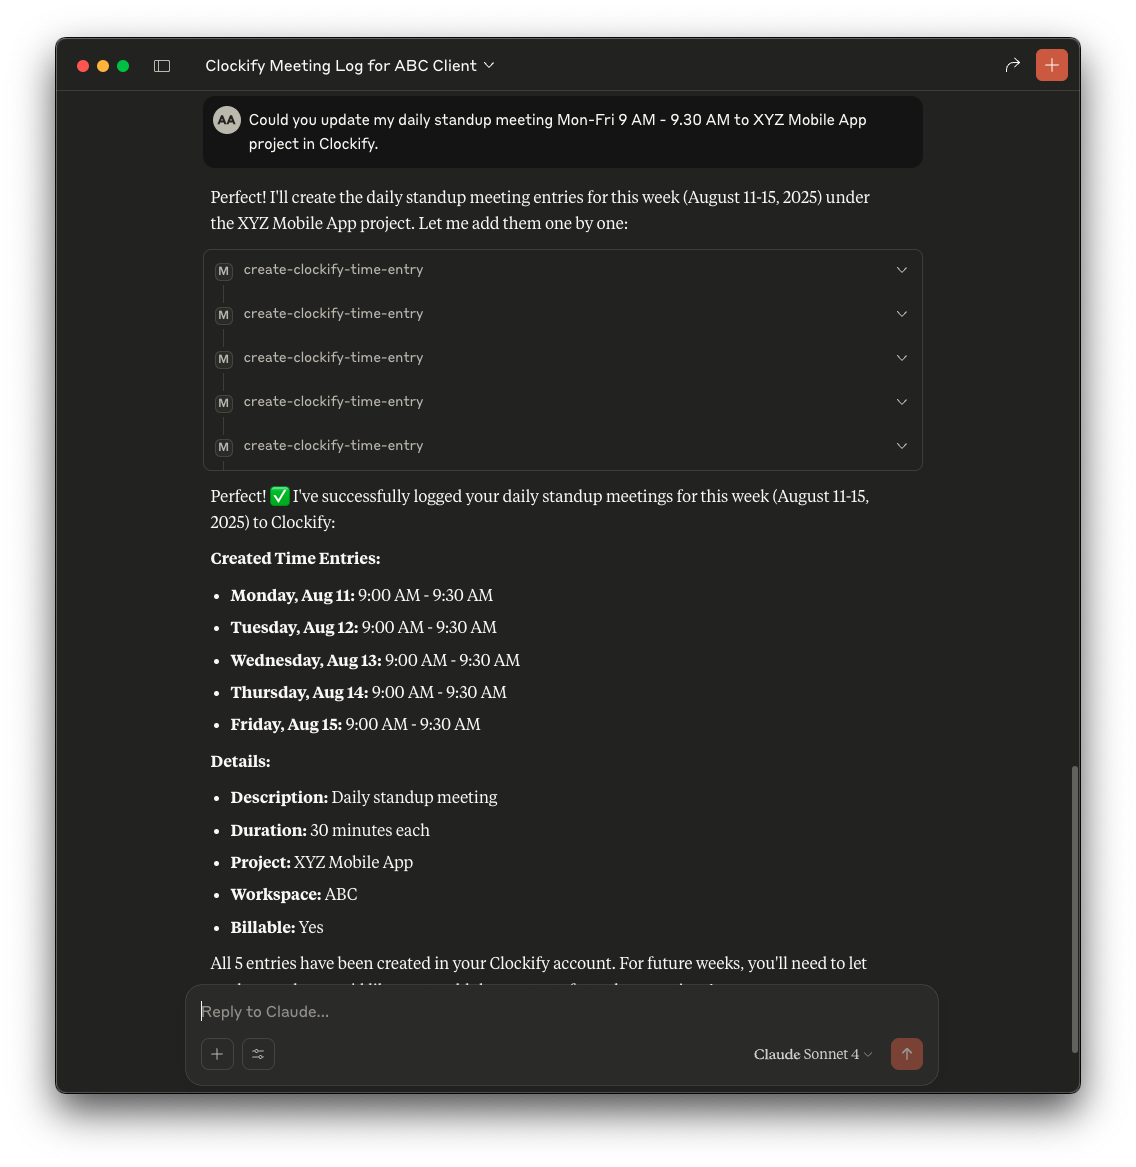
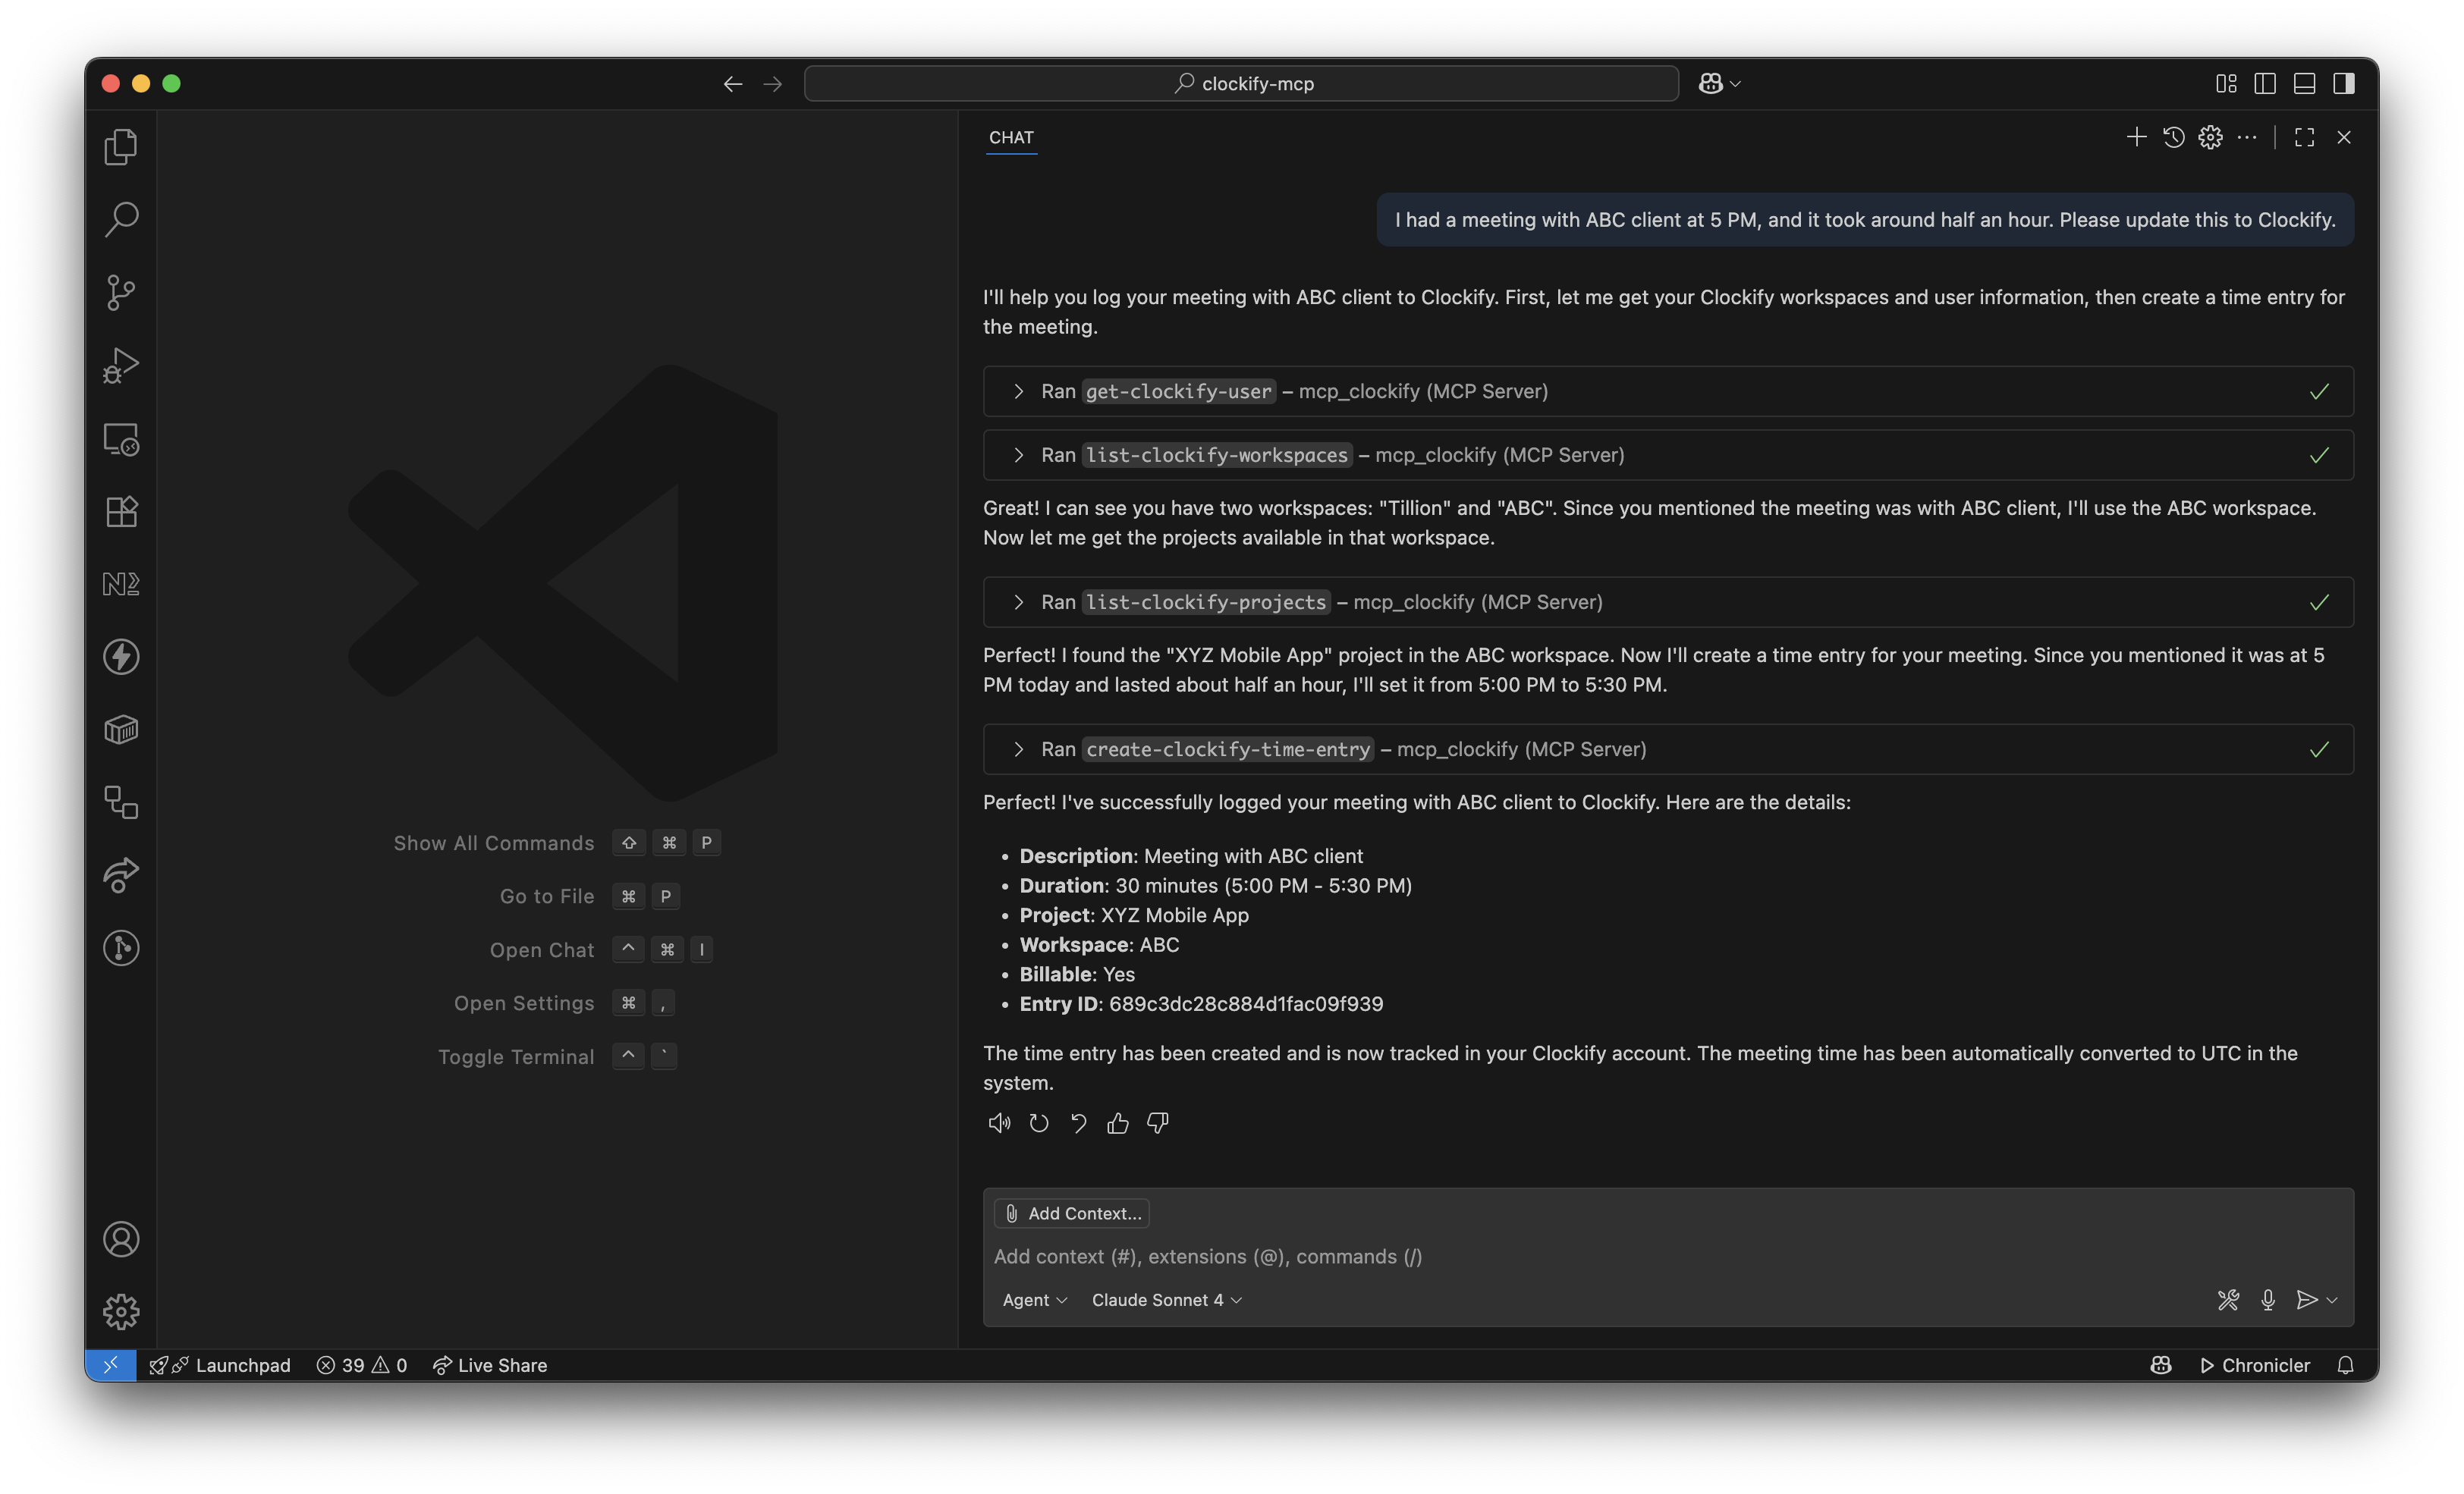
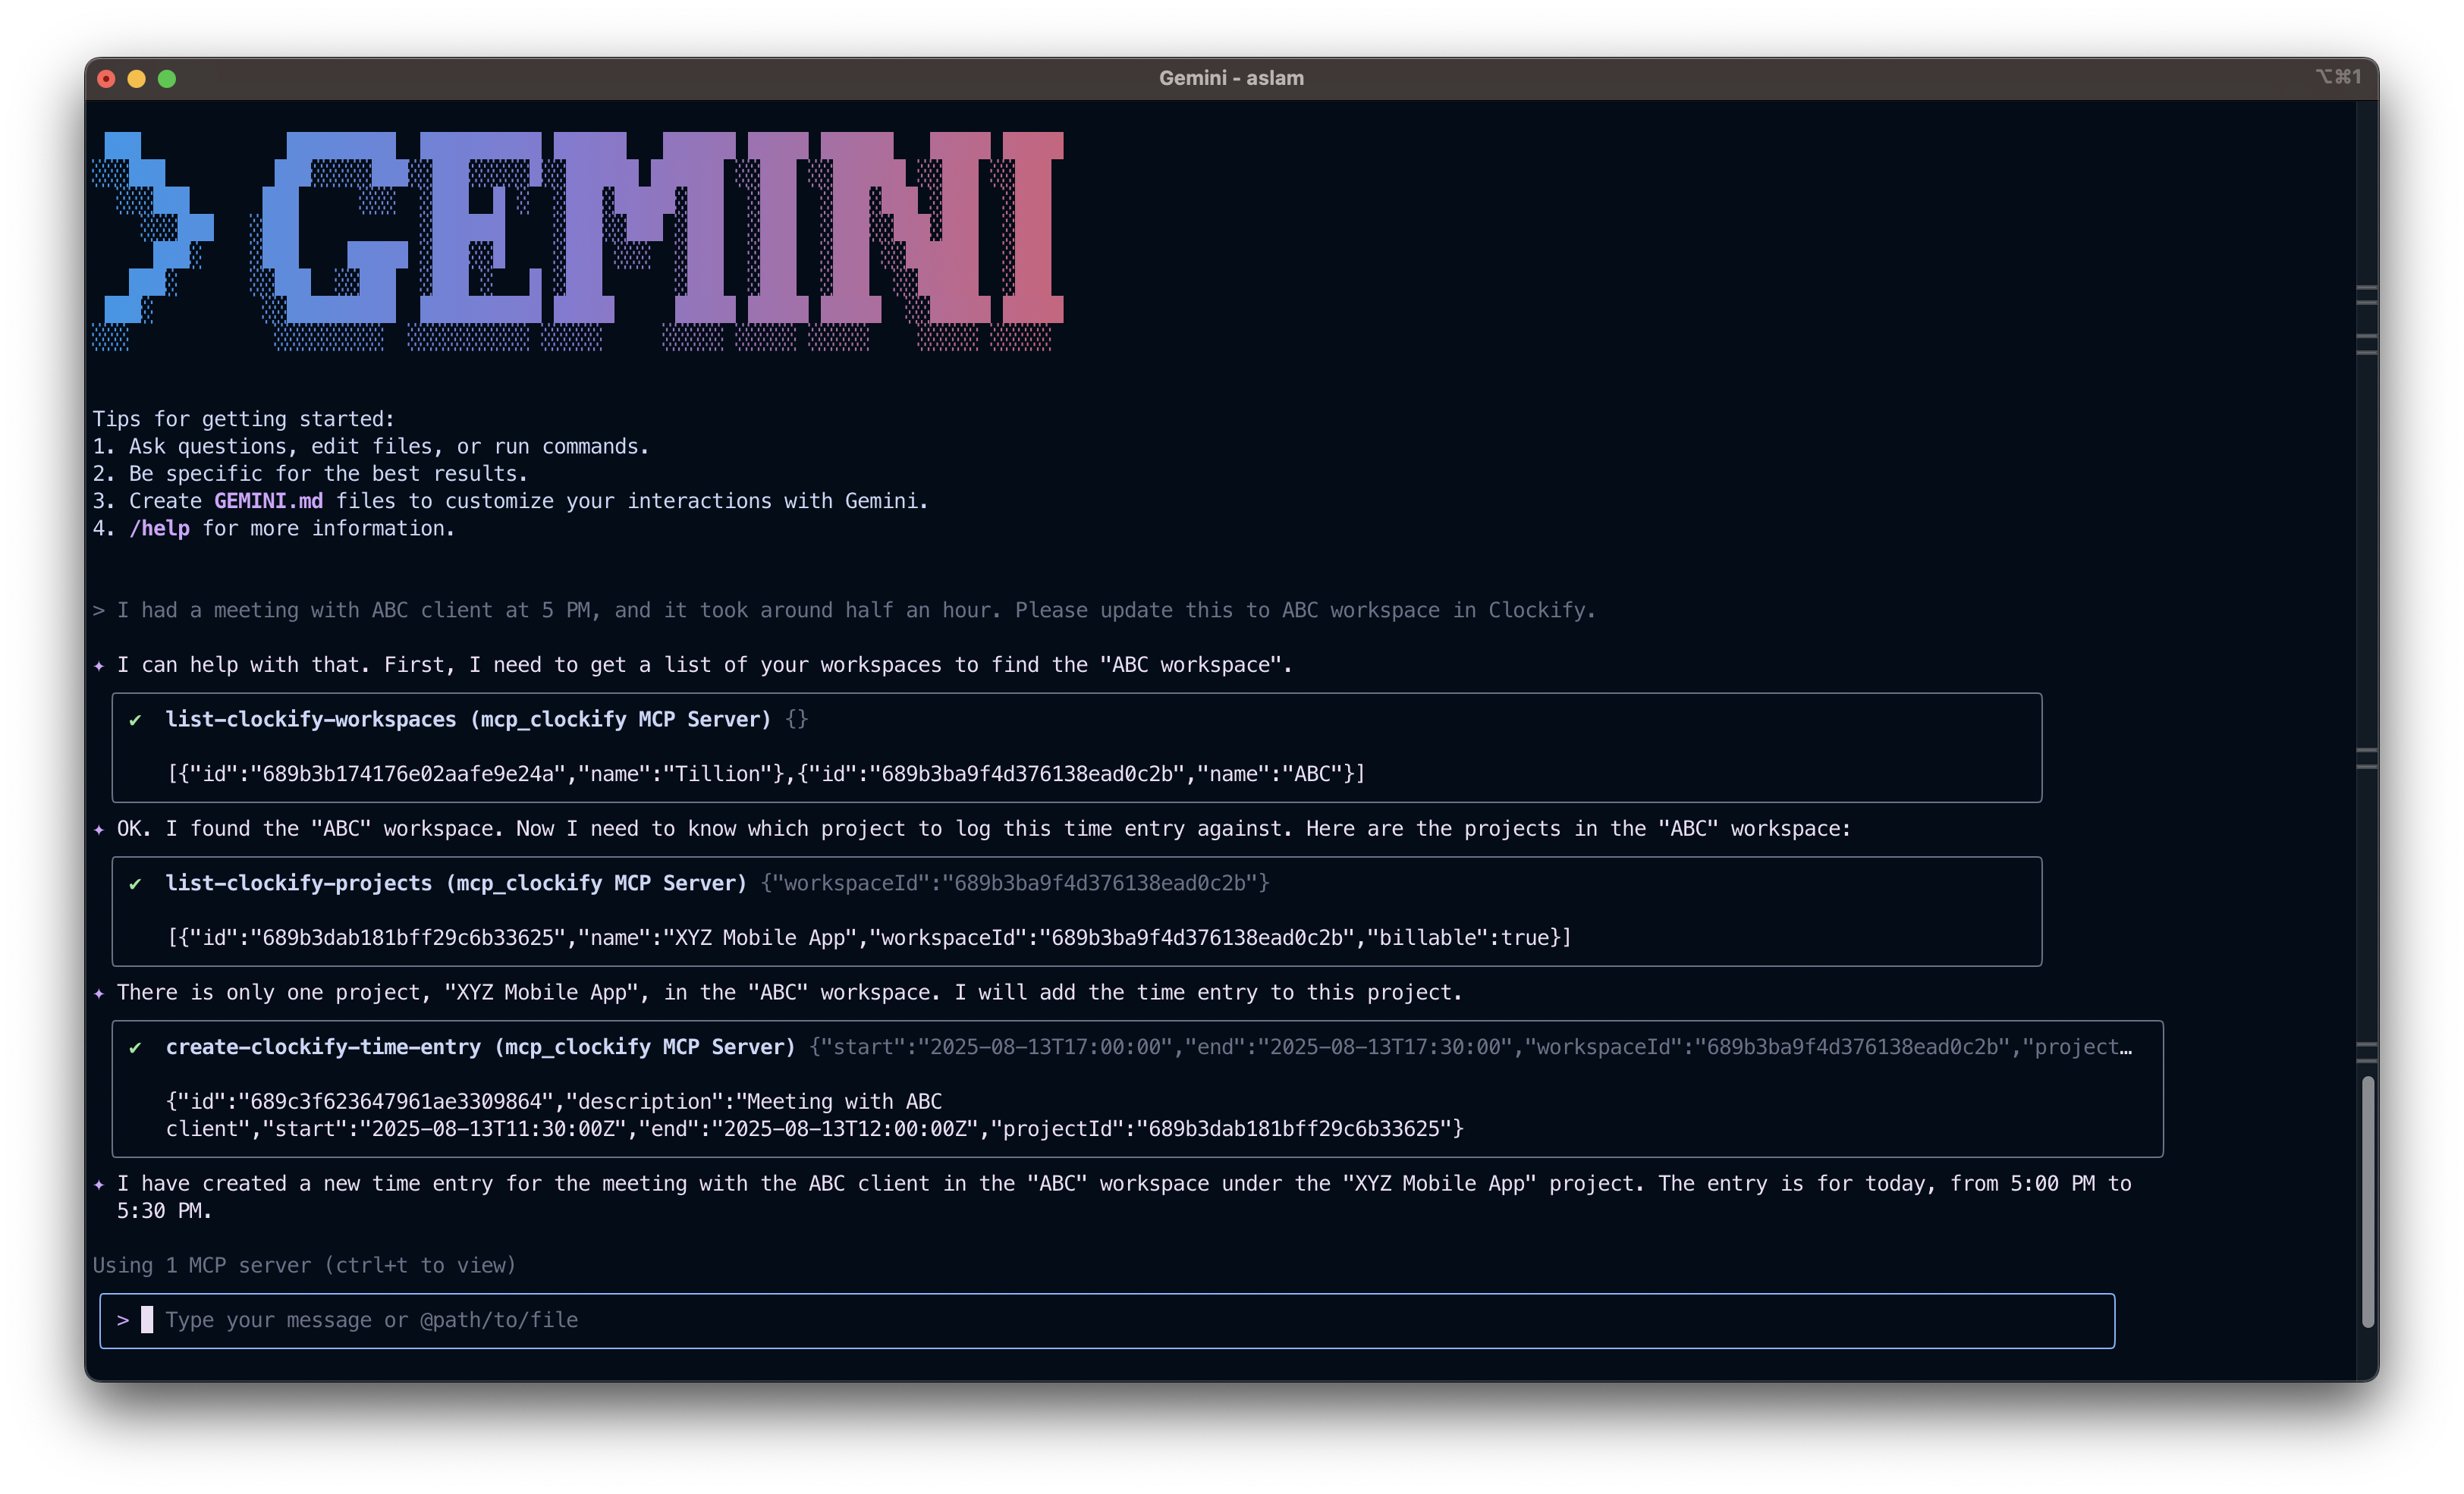
Demonstration

Available Tools
User Management
get-clockify-user- Retrieve current user profile information
Workspace Management
list-clockify-workspaces- List all accessible workspaces
Project Management
list-clockify-projects- List projects in a workspace with optional name filtering
Task Management
list-clockify-tasks- List tasks within a specific project
Time Entry Management
create-clockify-time-entry- Create new time entriesupdate-clockify-time-entry- Update existing time entriesdelete-clockify-time-entry- Delete time entrieslist-clockify-time-entries- List time entries with date filtering
Prerequisites
Clockify Account: You need a Clockify account with API access
API Key: Generate your Clockify API key from your profile settings
MCP-Compatible Client: VS Code with GitHub Copilot, Claude Desktop, or other MCP clients
Installation
Option 1: Using NPX (Recommended)
Add the following configuration to your MCP client:
Option 2: Local Development
Clone the repository:
git clone <repository-url> cd clockify-mcpInstall dependencies:
npm installBuild the project:
npm run buildConfigure your MCP client:
{ "servers": { "mcp_clockify": { "command": "node", "args": ["/path/to/clockify-mcp/build/index.js"], "env": { "CLOCKIFY_API_KEY": "your-clockify-api-key-here" } } } }
Configuration
Getting Your Clockify API Key
Log in to your Clockify account
Go to Profile Settings (click your avatar in the top-right corner)
Navigate to the API section
Generate or copy your existing API key
VS Code Setup
Open VS Code
Run the command
MCP: Open User Configuration(Ctrl/Cmd + Shift + P)This opens or creates the
mcp.jsonfile in your user profileAdd the configuration with your API key:
Save the file and restart VS Code
Antigravity Setup
Open Antigravity
Run the command
Antigravity: Manage MCP Servers(Ctrl/Cmd + Shift + P)View raw config file
Add the configuration with your API key:
Save the file and restart Antigravity
Claude Desktop Setup
Add to your Claude Desktop configuration file:
macOS: ~/Library/Application Support/Claude/claude_desktop_config.json
Windows: %APPDATA%\Claude\claude_desktop_config.json
Gemini CLI Setup
Open your Gemini CLI configuration file (e.g.,
~/.gemini/settings.json).Add the following configuration:
Usage Examples
Creating a Time Entry
Listing Recent Time Entries
Managing Projects
Daily Time Tracking
Development
Scripts
npm run build- Build the TypeScript projectnpm start- Start the servernpm run inspect- Use MCP inspector for debugging
Project Structure
Troubleshooting
Common Issues
Invalid API Key Error
Verify your API key is correct and has proper permissions
Check that the environment variable is properly set
Network Connection Issues
Ensure you have internet connectivity
Verify Clockify API is accessible from your network
Server Not Starting
Check that Node.js is installed (version 16 or higher)
Verify all dependencies are installed with
npm install
Debug Mode
Use the MCP inspector for debugging:
This opens a web interface to test and debug the MCP server.
API Reference
The server interacts with Clockify API v1. For detailed API documentation, visit Clockify API Documentation.
Contributing
Fork the repository
Create a feature branch
Make your changes
Add tests if applicable
Submit a pull request
License
This project is licensed under the ISC License.
Support
For issues and questions:
Check the troubleshooting section
Review Clockify API documentation
Open an issue on the repository
Note: This is an unofficial integration.