# Workflow Router example
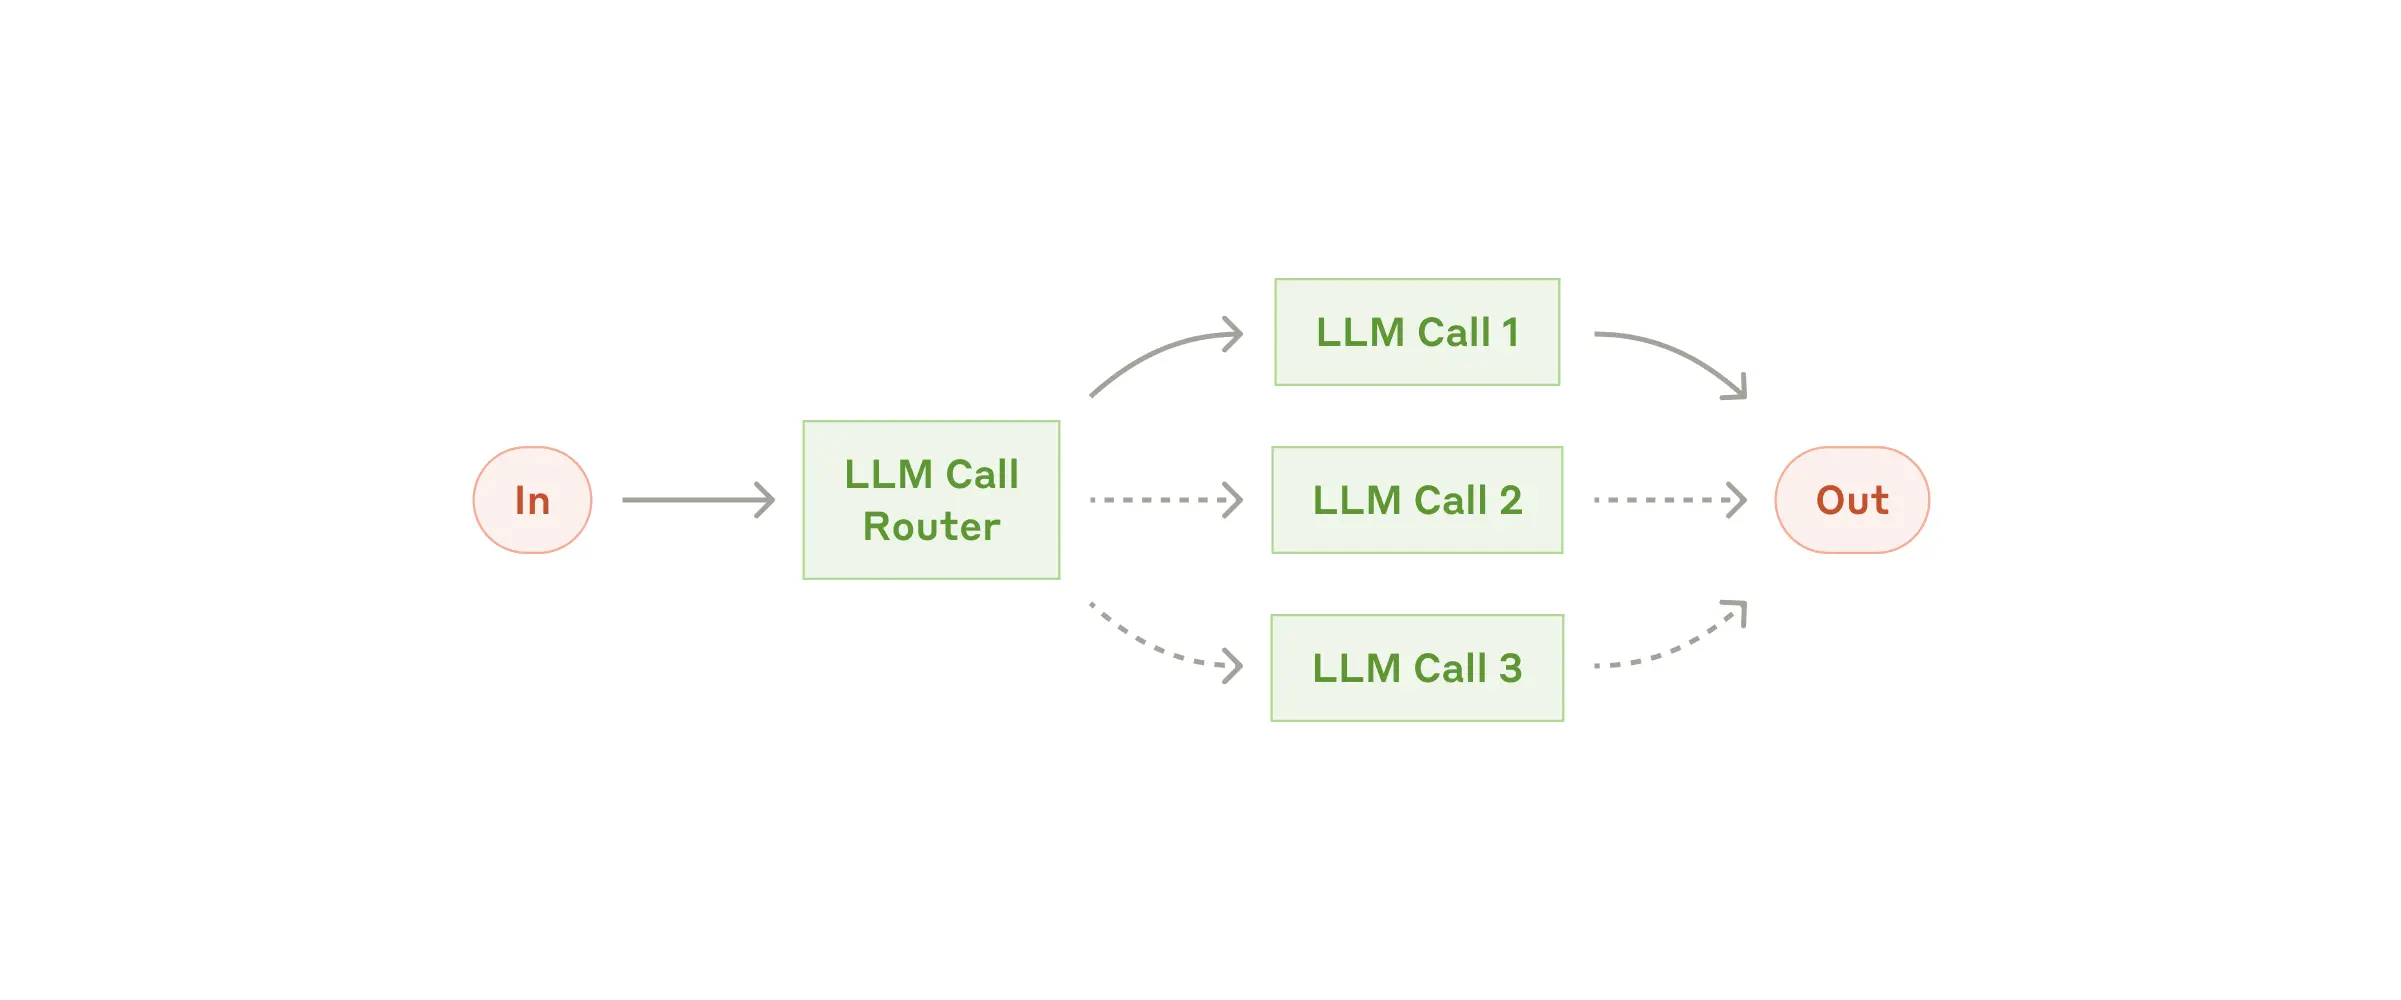
This example shows an LLM-based routing to the `top_k` most relevant categories, which can be an Agent, an MCP server, or a function. The example routes between the functions: `print_to_console`, `print_hello_world`; the agents: `finder_agent`, `writer_agent`, `reasoning_agent`.
---
```plaintext
┌───────────┐
┌──▶│ Finder ├───▶
│ │ Agent │
│ └───────────┘
│ ┌───────────┐
├──▶│ Reasoning ├───▶
│ │ Agent │
│ └───────────┘
┌───────────┐ │ ┌───────────┐
│ LLMRouter ├─┼──▶│ Writer ├───▶
└───────────┘ │ │ Agent │
│ └───────────┘
│ ┌───────────────────┐
├──▶│ print_to_console ├───▶
│ │ Function │
│ └───────────────────┘
│ ┌───────────────────┐
└──▶│ print_hello_world ├───▶
│ Function │
└───────────────────┘
```
## `1` App set up
First, clone the repo and navigate to the workflow router example:
```bash
git clone https://github.com/lastmile-ai/mcp-agent.git
cd mcp-agent/examples/workflows/workflow_router
```
Install `uv` (if you don’t have it):
```bash
pip install uv
```
Sync `mcp-agent` project dependencies:
```bash
uv sync
```
Install requirements specific to this example:
```bash
uv pip install -r requirements.txt
```
## `2` Set up environment variables
Copy and configure your secrets and env variables:
```bash
cp mcp_agent.secrets.yaml.example mcp_agent.secrets.yaml
```
Then open `mcp_agent.secrets.yaml` and add your api key for your preferred LLM.
## (Optional) Configure tracing
In `mcp_agent.config.yaml`, you can set `otel` to `enabled` to enable OpenTelemetry tracing for the workflow.
You can [run Jaeger locally](https://www.jaegertracing.io/docs/2.5/getting-started/) to view the traces in the Jaeger UI.
## `3` Run locally
Run your MCP Agent app:
```bash
uv run main.py
```
